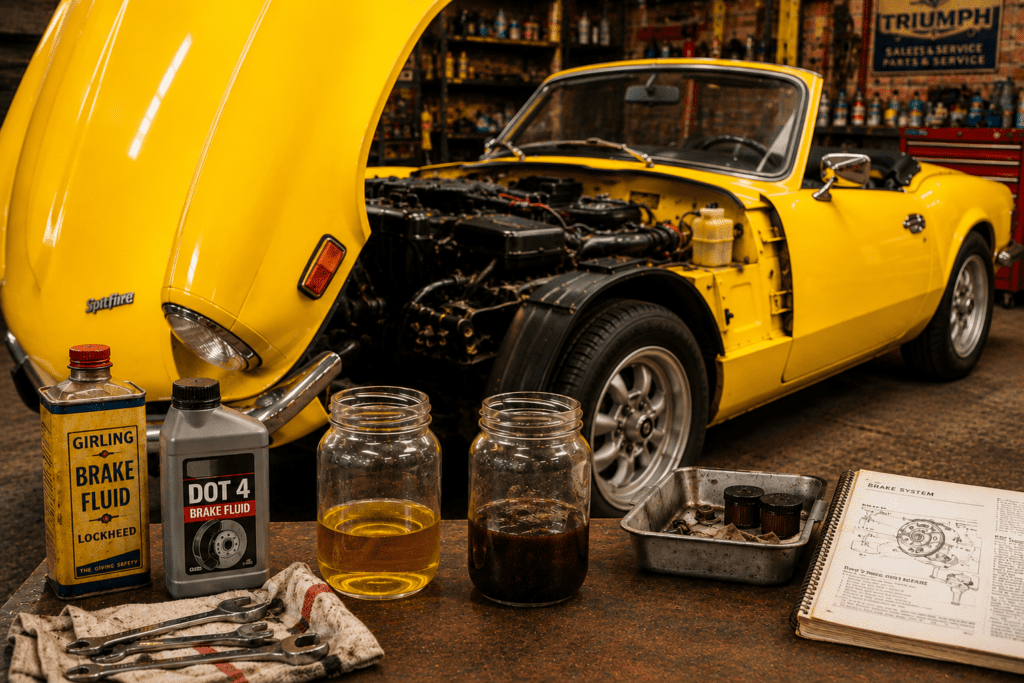
Classic Car Brake Fluid Guide: DOT Ratings, Silicone Versus Conventional, and How to Bleed It Properly
Brake fluid does one job: it transmits the force from your foot, through the master cylinder, through the hydraulic lines, […]
Tuning guides and performance upgrades
Brake fluid does one job: it transmits the force from your foot, through the master cylinder, through the hydraulic lines, […]

The suspension on a classic British car is one of those things that works better than you expect when it
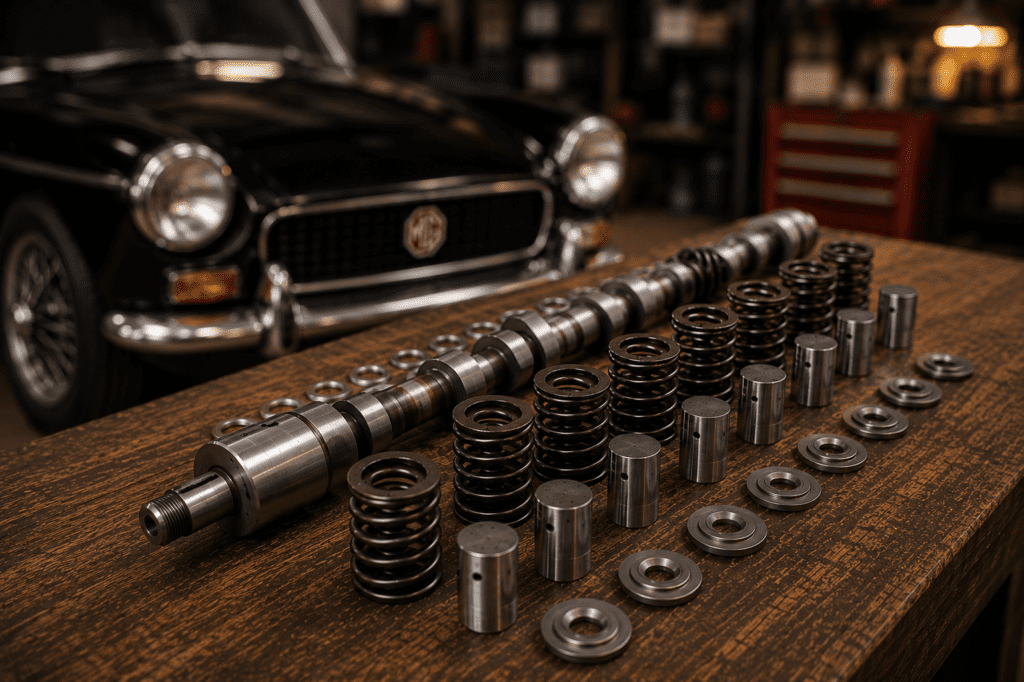
At some point in the ownership of almost any classic car, the thought occurs. The engine is running well, the

If you have already worked through our guide to setting up SU carburettors, your car should now idle cleanly, pick
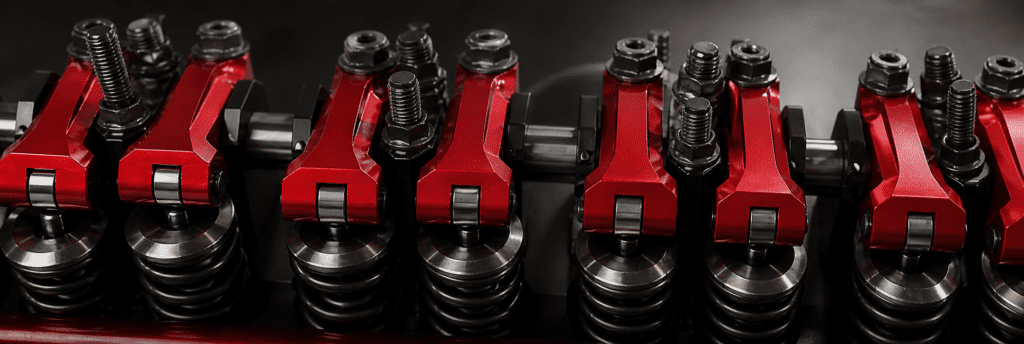
There is a particular type of engine modification that appeals enormously to the classic car enthusiast: one that can be

Colin Chapman, founder of Lotus, was responsible for one of the most quoted pieces of automotive wisdom ever uttered. “Simplify,”
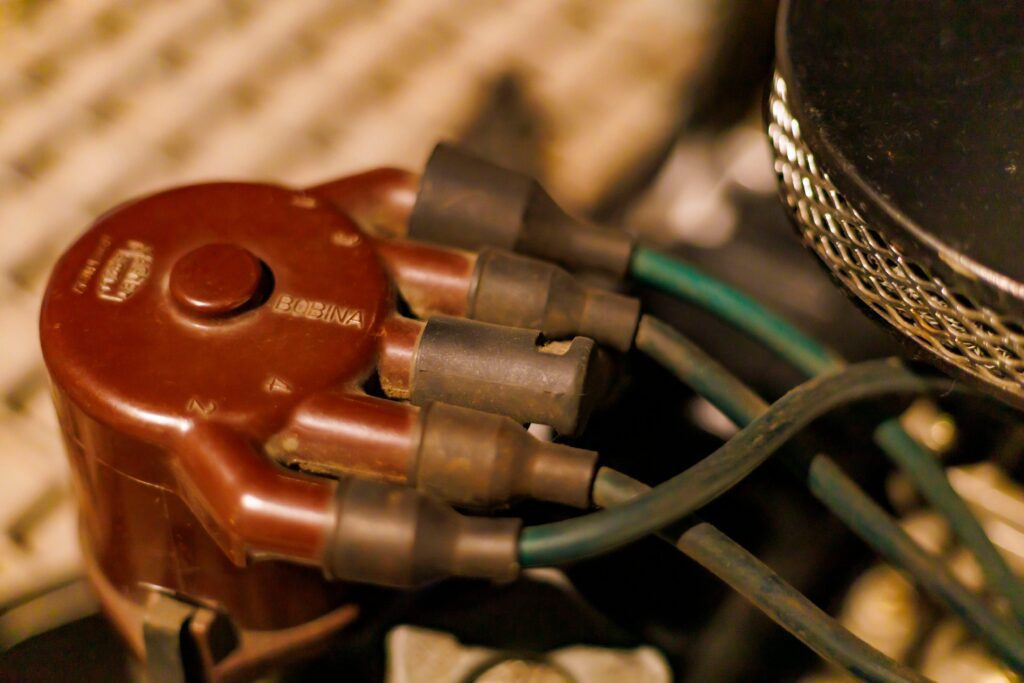
The question of whether to convert your classic car from points to electronic ignition provokes strong feelings in the classic

Overheating is one of the most common causes of serious engine damage on classic cars, and the cooling system is
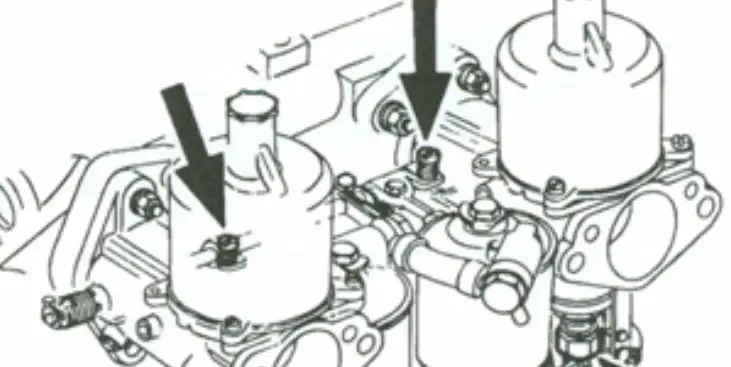
The SU carburettor is one of the great unsung engineering successes of the British motor industry. Simple, effective, repairable, and