The SU carburettor is one of the great unsung engineering successes of the British motor industry. Simple, effective, repairable, and fitted to an enormous range of cars from the 1930s right through to the 1980s. MGs, Triumphs, Minis, Healeys, Jaguars, Land Rovers — if it has a British engine there is a reasonable chance it has SUs on it. They have a reputation for being temperamental but most problems come down to wear, dirty fuel, or incorrect adjustment rather than any fundamental flaw in the design. Set up properly a pair of SUs is hard to beat.
How the SU carburettor works
Unlike a conventional fixed jet carburettor, the SU is a variable choke design. The choke size and fuel jet position both change automatically in response to engine demand, which is why they are sometimes called constant velocity or CV carburettors. When the throttle opens and air velocity increases, a piston rises in the dashpot, lifting a tapered needle out of the jet and allowing more fuel to flow. The mixture is therefore controlled by the needle profile rather than by a fixed jet size. This elegant simplicity is also why they respond so well to tuning.
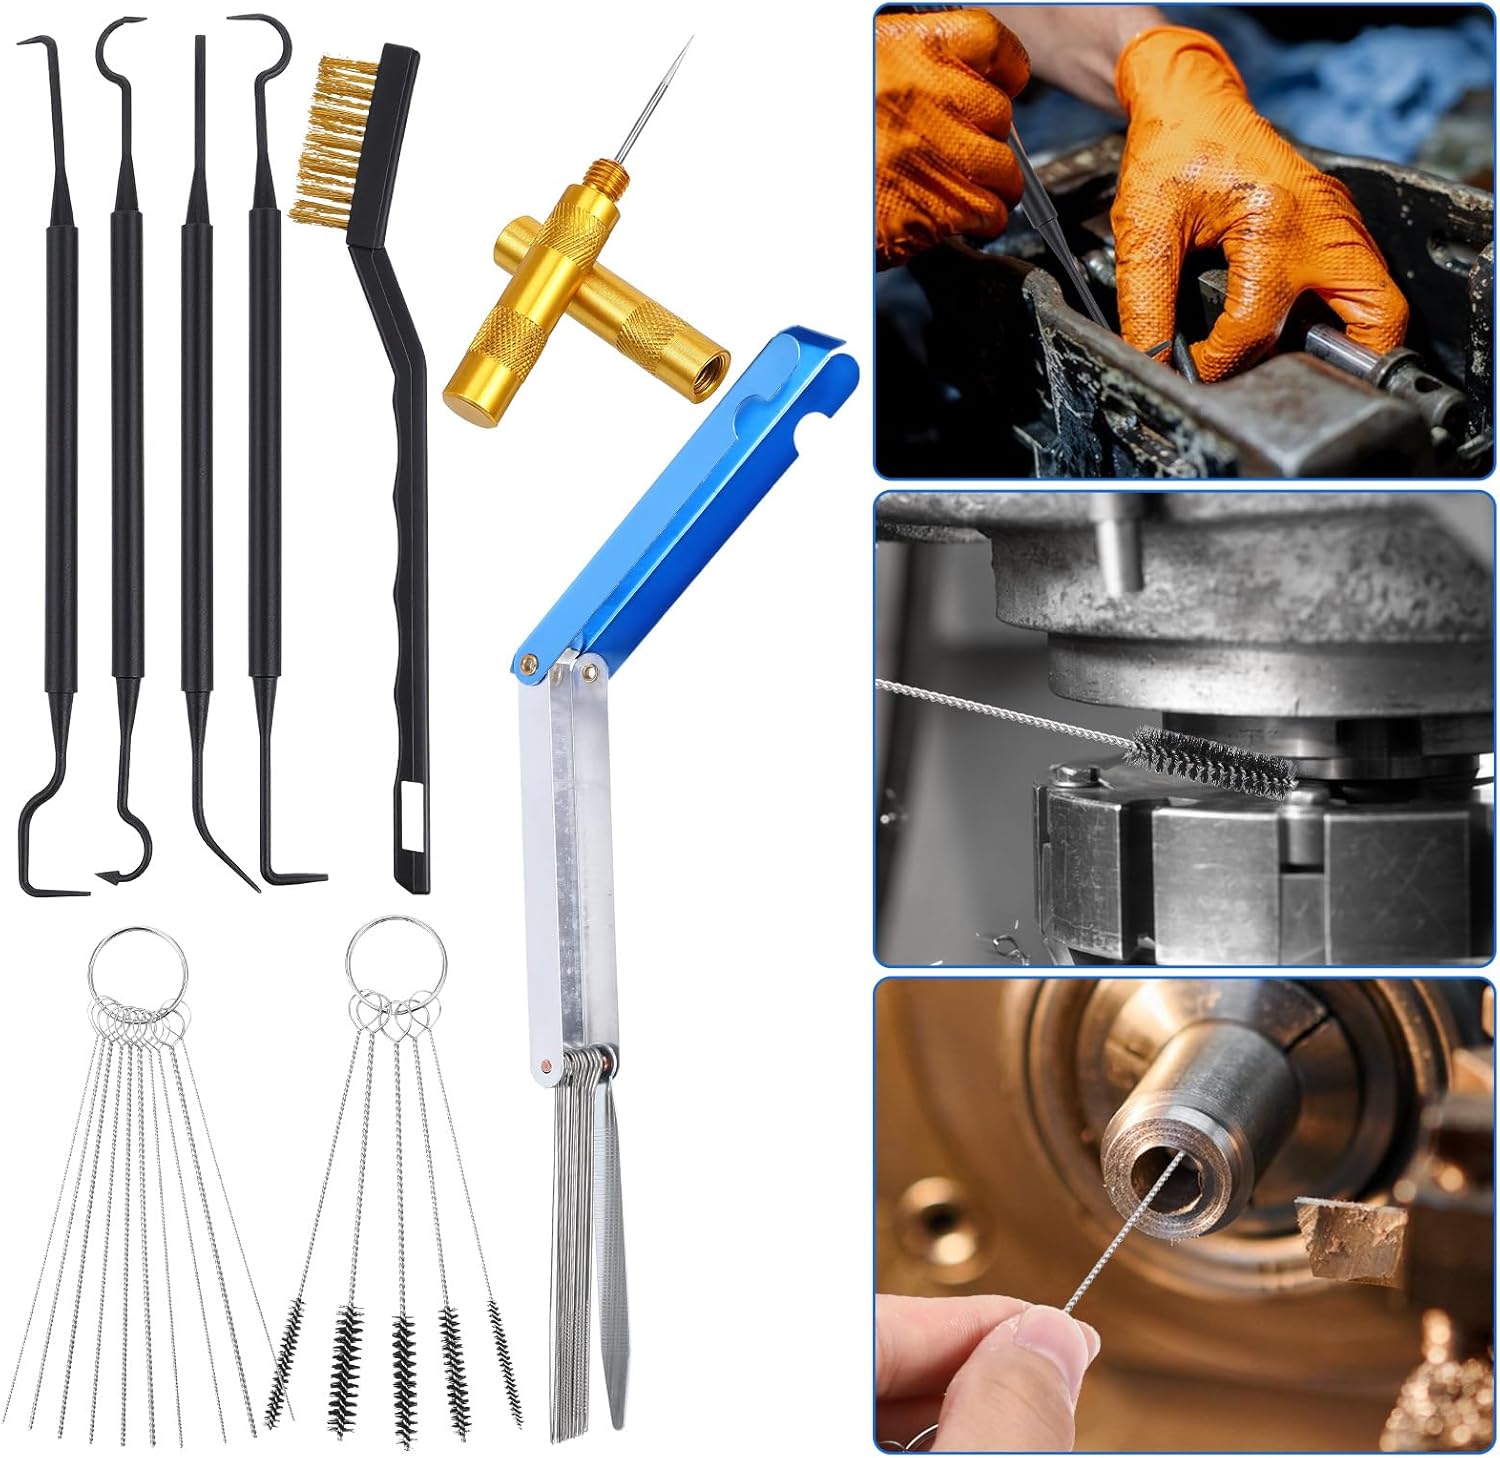
Tools and equipment needed
- Flat blade screwdrivers, various sizes
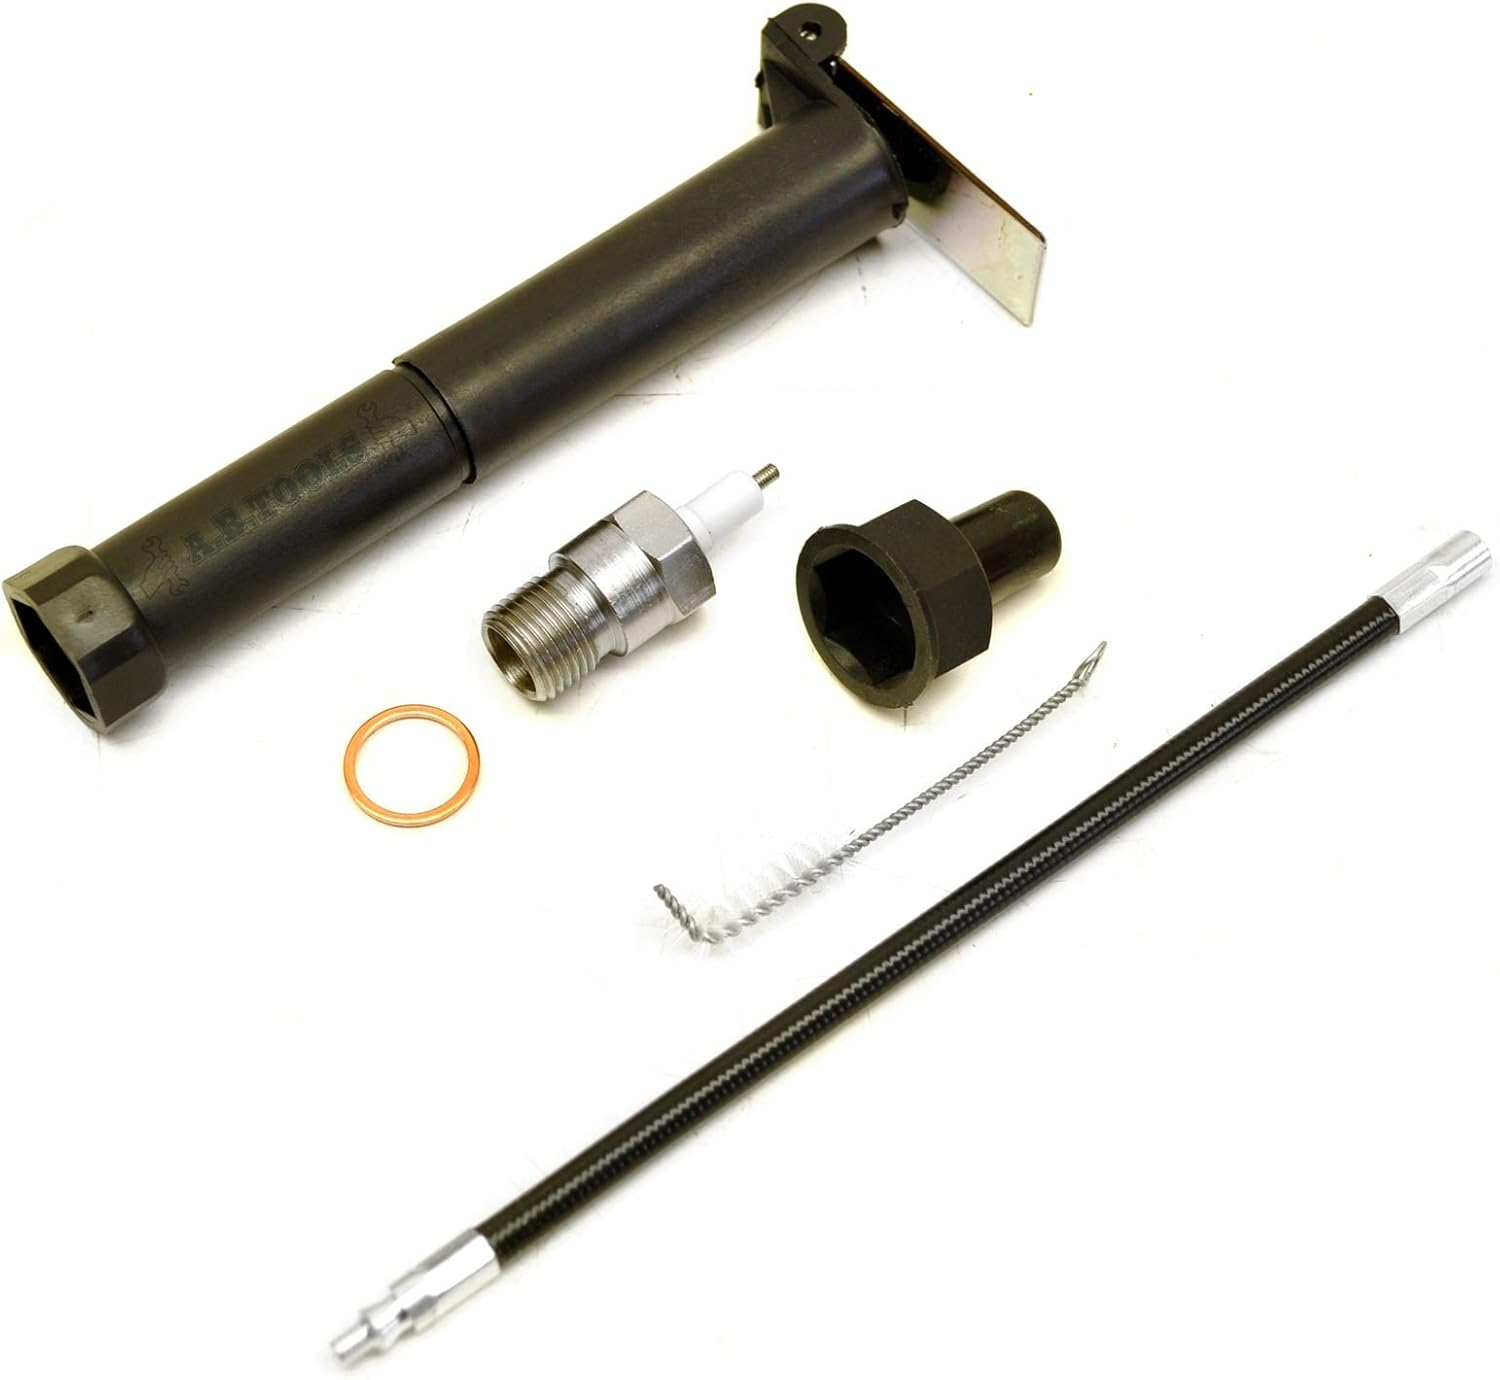
- SU carburettor adjustment tool or a narrow flat blade screwdriver for jet adjustment
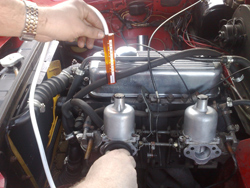
- Colortune plug or exhaust gas analyser for mixture setting — a Colortune is the classic method and still works perfectly
- Lifting pin or a thin rod for checking piston damper oil level
- Tachometer or electronic timing light
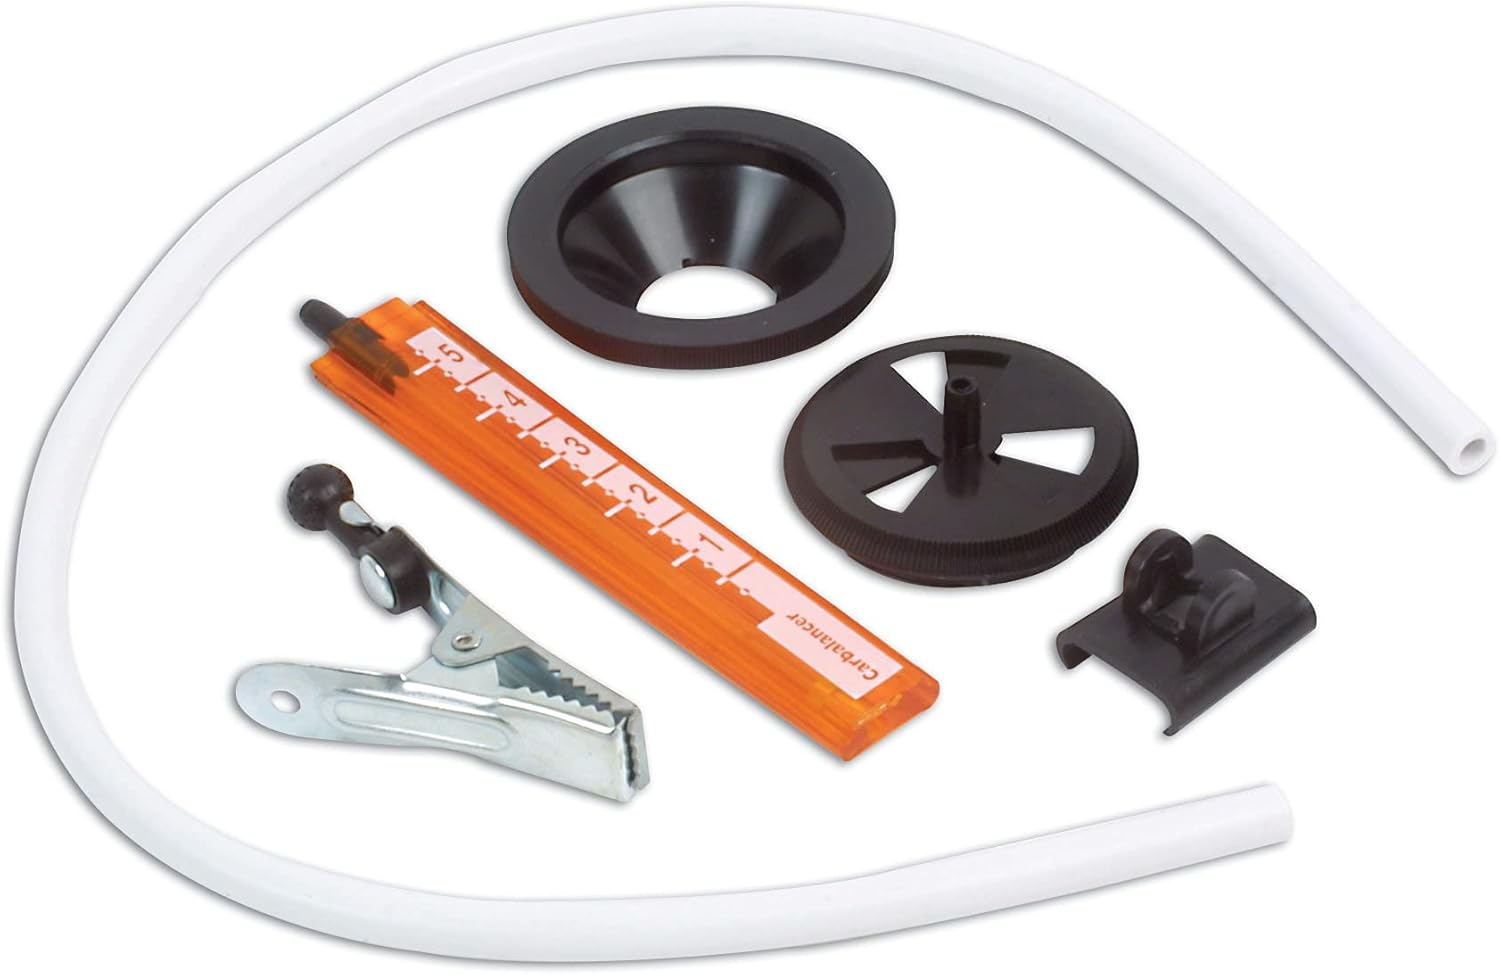
- Carburettor balancing tool such as a Unisyn or Carbalancer for twin carburettor setups
- Thin oil for the dashpot damper, SAE 20 or automatic transmission fluid works well
Before you start
A carburettor can only be set up correctly on an engine that is in good mechanical condition. Before touching the carburettors, make sure the following are correct:
- Ignition timing is set correctly
- Points gap or electronic ignition is correctly set
- Spark plugs are in good condition and correctly gapped
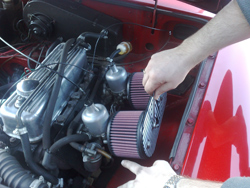
- Air filter is clean
- Valve clearances are within specification
- There are no air leaks at the inlet manifold or carburettor flanges
An air leak will make correct mixture setting impossible. Check by running the engine and spraying a small amount of WD40 or carburettor cleaner around the manifold joints while the engine is at idle. A change in engine speed indicates a leak at that point.
Checking and cleaning the carburettor
Dashpot oil level
Remove the dashpot cap and check the oil level. The damper rod should be submerged in oil. If the dashpot is dry the piston will rise too quickly under acceleration causing a weak mixture and flat spots. Top up with a few drops of thin oil until the level is approximately half an inch below the top of the dashpot tube.
Piston and needle
Remove the dashpot and lift out the piston. The piston should move smoothly and freely in the carburettor body with no binding or sticking. Clean the inside of the carburettor body and the piston with carburettor cleaner. Check the needle for wear, a worn needle will be visibly thinner toward the lower end. A worn needle causes mixture problems that cannot be corrected by adjustment alone and the needle should be replaced.
Float chamber and jet
Check the float chamber for water or sediment. Classic fuel systems are prone to rust particles and water contamination, particularly after a long lay-up. Clean the float chamber thoroughly. Check that the float is not punctured by shaking it close to your ear — any sloshing sound means fuel has got inside and the float needs replacing. A sinking float causes flooding and an over-rich mixture.
Setting up a single SU carburettor
Setting the jet
With the engine cold, screw the jet adjusting nut up until the jet is flush with the bridge of the carburettor, then turn it down two full turns as a starting point. This gives a slightly rich baseline mixture to work from.
Cold start and warm up
Start the engine and allow it to reach full operating temperature before making any mixture adjustments. Cold mixture settings are unreliable. The choke, if fitted, should be fully off before adjustment begins.
Setting idle speed
With the engine fully warm, set the idle speed to approximately 800 to 900 rpm using the throttle stop screw. Do not set idle speed by richening the mixture. Idle speed and mixture are separate adjustments and should be treated as such.
Setting the mixture
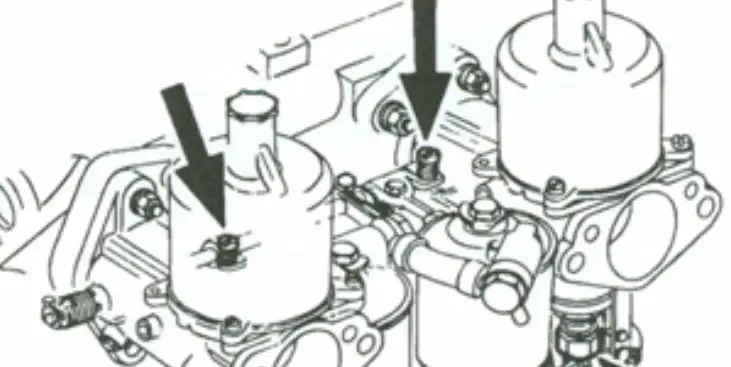
The mixture is adjusted by raising or lowering the jet using the jet adjusting nut. Turning the nut up richens the mixture, turning it down weakens it. The traditional method is to use a lifting pin. Push the piston up approximately one sixteenth of an inch using the lifting pin on the side of the carburettor. Watch the engine speed:
- If the engine speed rises and stays up, the mixture is too rich. Lower the jet slightly
- If the engine speed immediately drops or the engine stumbles, the mixture is too weak. Raise the jet slightly
- If the engine speed rises very slightly then settles back, the mixture is correct
Make adjustments in small increments, one flat of the adjusting nut at a time, and repeat the lifting pin test after each adjustment. The correct mixture takes patience to find but is worth getting right.
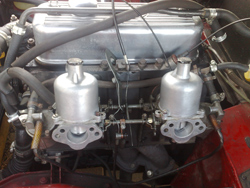
Balancing twin carburettors
Cars fitted with two SU carburettors, which includes most twin carb MGs and Triumphs, require the carburettors to be balanced so that each one flows the same amount of air at idle. An unbalanced pair will cause uneven running and make correct mixture setting very difficult.
Using a balancing tool
A Unisyn or similar balancing meter is held over each carburettor intake in turn. The airflow reading should be identical on both. Adjust the throttle stop screws to equalise the flow before attempting mixture adjustment. Both carburettors should be at the same idle speed contribution.
Mixture on twin carburettors
Once balanced, adjust the mixture on each carburettor individually using the lifting pin method described above. Start with the front carburettor, get it correct, then move to the rear. Recheck the balance after mixture adjustment as the two are interdependent.
Common problems and solutions
Flat spot on acceleration
Usually caused by an empty or low dashpot, a worn needle, or mixture set too weak. Check the dashpot oil level first as this is the most common cause and takes thirty seconds to fix.
Running rich, black smoke, high fuel consumption
Check the float for puncture, check the jet has not dropped, check the needle is correctly clipped in the piston. A loose or incorrectly positioned needle clip will richen the mixture beyond the range of the adjusting nut.
Carburettor flooding
Usually a punctured float or a worn needle valve in the float chamber. Both are straightforward to replace and rebuild kits containing all the wear items are readily available and inexpensive.
Sticking piston
Clean the piston and carburettor body thoroughly. Check for damage or distortion to the piston. A piston that sticks intermittently causes dramatic mixture changes and very uneven running. Do not lubricate the outside of the piston with anything other than the dashpot oil — oil on the outside of the piston causes it to stick to the carburettor body.
Rebuild kits and parts
SU carburettor rebuild kits containing needles, washers, needle valves, and float chamber gaskets are widely available. Burlen Fuel Systems in the UK are the definitive source for SU parts and also produce excellent technical documentation. For general rebuild kits, needles, and tuning tools, Amazon carries a reasonable selection suitable for most common applications.
A well set up pair of SUs is a genuine pleasure. Smooth idle, crisp throttle response, and fuel consumption that makes modern fuel injection look unnecessary. The key is patience, a methodical approach, and making one adjustment at a time. Rush it and you will end up going round in circles. Take your time and the SU will reward you with years of reliable service.
Why not go the extra step and look at performance tuning your SU’s to get the best out of your engine. Getting the Best from Your SU Carburettors: Needles, Springs and Performance Tuning
This article contains affiliate links. If you buy through a link on this page we may earn a small commission, at no extra cost to you.