Guide to Lead Loading
Whilst plastic body fillers have come a long way since its arrival in the 50's however there are still some jobs that are best done the good old-fashioned way... with lead.
|
|
|
Lead bar: B130 Solder / Lead Stick, |
|
paddle(s): B125 Flat Paddle, |
|
N670 Heat Gun |
|
the "B145 Standard Body Solder Kit" available from Frost.co.uk contains everything you need to start work on your restoration project. |
 |
 |
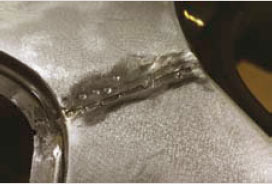 |
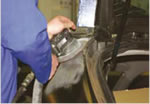
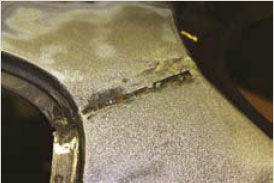
| 1. As ever, the first step is to clean the paint off a large area on either side of the repair to be filled. The lead will only stick if the area it is being used on is totally clean. You will chemically clean the area with flux, but this will not remove contaminants such as grease, paint, rust and general grime. | 2. The DA sander soon strips the flat panels back to bare metal, but there are still traces of surface rust within the seam that have formed since the repair was made. Having to get the repair area spotlessly clean is not unique to lead loading of course, and applies equally to plastic fillers and paint. | 3. A quick scrub with a wire wheel in the angle grinder gets the crevices clean – as well as being pushed firmly into crevices like this, capillary action from the heat also helps to pull lead into the seam in much the same way as braze will creep into a join. This helps give it so much strength. |
 |
 |
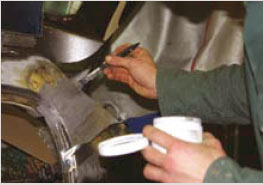 |
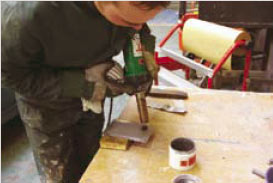
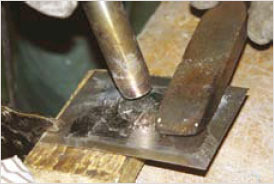
| 4. The C-post repair is tricky in that it is a vertical panel and it is easy to end up with a large gob of lead on the floor and very little on the panel. Therefore, first practice on a horizontal piece of scrap metal to get a feel for how the torch (or in this case a plastic welder hot air gun) imparts its heat. | 5. The gentle heat of the hot air gunmeans the process is slow, but also very controllable. With the panel tinned and loaded with lead (see steps 6-9), you can see when the metal is starting to go pasty and catch it easily with a wooden paddle to spread around the work area before it goes liquid. | 6. Moving on to the repair, the first step is to brush on a layer of solder paste (flux) over the whole area. This both chemically cleans the metal and lays down a thin layer of lead. You can use a pure flux followed by a very thin layer of lead for this step, but getting the lead on thinly enough is very difficult. |
 |
 |
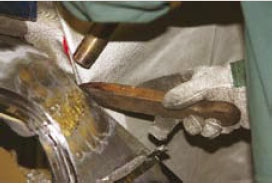 |
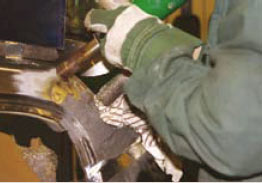
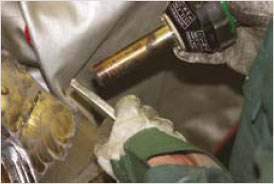
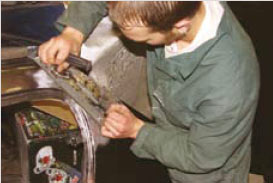
| 7. Next step is to heat up the solder paste until it melts across the surface of the panel, then wipe the area with a clean cloth. This removes the paste but leaves the very thin layer of lead that is necessary for subsequent applications to grip to. Wash and dry the area to clean off all acid residue. | 8. You are now ready to apply the lead. Most of the heat is focussed on the end of the lead stick, but you also need to keep the heat moving over the panel to keep that warm. When the stick starts to melt, push it hard onto the work piece and twist slightly to break the end, leaving a series of blobs across the panel. | 9. These blobs are then heated on the panel and pushed into the crevice with a wooden paddle dipped in tallow to keep it lubricated. The outer surface can be built up with more applications of the lead stick if needed, or the lead deposits moved around by heating them and pushing with the paddle. |
 |
 |
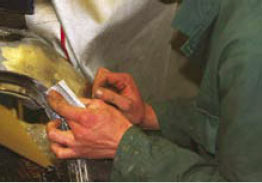 |
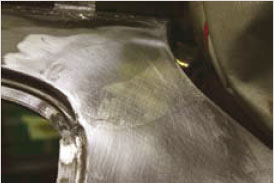
| 10. Never use power tools to sand back lead as they will spread the dust everywhere and represent a real health hazard. It files back easily enough with a body file, but sliding this sideways can cut grooves in the solder that will need re-filling and too much pressure can also gouge the steel panel. | 11. It will probably take a few applications and sandings to get the finish this smooth, but the lead blends in perfectly with the metal to give an invisible join. Any lead shaved off can be collected and re-used – a strip of aluminium tape folded and stuck below the repair will catch the bits as they drop. | 12. Hand-shape the lead using a fileand coarse paper where it has pushed around the edges of the panel. Wash the area with soapy water to remove traces of flux which will remain active and promote corrosion, and use a solvent cleaner before painting to remove any tallow |
Words and pictures: Simon Goldsworthy, MG Enthusiast magazine.
Sourced from: www.frost.co.uk